In this article, we will explore the installation and setup of Fedora on a virtual machine using VirtualBox. Fedora is one of the most popular Linux distributions, known for its stability, modern features, and support for the latest technologies. This guide is perfect for those who want to experiment with Linux in a safe virtual environment without modifying their primary operating system.
Why Fedora?
Fedora is a community-driven project that focuses on providing the latest technologies and software. It brings improvements in performance, security, and the overall user experience. Fedora is a great choice for developers who need a stable and modern working environment, or anyone interested in exploring the Linux world.
Step 1: Setting Up VirtualBox
Before we can install Fedora, we need to prepare VirtualBox. Follow these steps:
1.1 Download and Install VirtualBox
- Visit the official VirtualBox website.
- Download the appropriate version for your operating system (Windows, macOS, or Linux).
- Follow the installation instructions for your platform.
1.2 Create a New Virtual Machine
- Open VirtualBox and click on “New” to create a new virtual machine.
- Enter the following details:
- Name: Fedora (or a name of your choice)
- Type: Linux
- Version: Fedora (64-bit)
- Allocate resources for your virtual machine:
- RAM: At least 2 GB (recommended 4 GB for smooth performance)
- Storage: At least 20 GB (adjust based on your needs)
- Click Create to finish setting up the virtual machine.
1.3 Configure the Virtual Machine
Before starting the virtual machine, adjust a few settings:
- Select your virtual machine in the list and click on Settings.
- Under System:
- Ensure the Processor tab has at least 2 CPUs allocated if your host system supports it.
- Under Storage:
- Click on the empty optical drive icon and attach the Fedora ISO file you downloaded.
- Under Network:
- Choose Bridged Adapter for better network integration, or stick with NAT for simplicity.
Now your virtual machine is ready for Fedora installation!
Step 2: Installing Fedora
Now that your virtual machine is configured, let’s install Fedora:
2.1 Download the Fedora ISO
- Go to the Fedora official website.
- Download the latest ISO file for Fedora.
2.2 Start the Installation
- Launch your VirtualBox virtual machine and boot from the Fedora ISO.
- Select Start Fedora-Workstation-Live from the boot menu.
- Once the live environment loads, click on Install to Hard Drive.
2.3 Installation Steps
- Choose Language: Select your preferred language and click Continue.
- Partitioning: Use the automatic partitioning option unless you have specific requirements.
- Set Up User Account: Create a username and password for your system.
- Install Fedora: Click Begin Installation and wait for the process to complete.
2.4 Post-Installation Setup
- After the installation finishes, reboot the virtual machine.
- Remove the ISO from the virtual drive in VirtualBox settings.
- Log in to your new Fedora system and start exploring its features and tools!
Step 3: Post-Installation Steps
After successfully installing Fedora in a virtual environment, here are a few additional steps to enhance your system and make the most out of it.
3.1 Update the System
Before using your new system, it’s always a good idea to update all installed packages to the latest versions. Open a terminal and run:
sudo dnf update -y
This will ensure your system is running the latest software and security updates.
3.2 Install Essential Tools
If you plan to use Fedora for development or other specific tasks, consider installing some essential tools:
Git for version control:
sudo dnf install git -y
Vim or Nano for text editing:
sudo dnf install vim nano -y
Development Tools for compiling software:
sudo dnf groupinstall "Development Tools" -y
Step 4: Optimizing Performance in VirtualBox
To get the best performance out of your Fedora virtual machine, here are some quick tips:
4.1 Enable 3D Acceleration
If you want smoother graphics and better performance:
Open Settings > Display in VirtualBox. Check the option Enable 3D Acceleration.
4.2 Configure Shared Folders
For easy file sharing between the host and guest systems:
Open Settings > Shared Folders in VirtualBox. Add a new folder, specify the path on your host system, and enable Auto-mount.
Install VirtualBox Guest Additions inside your Fedora virtual machine to fully utilize shared folders.
Conclusion
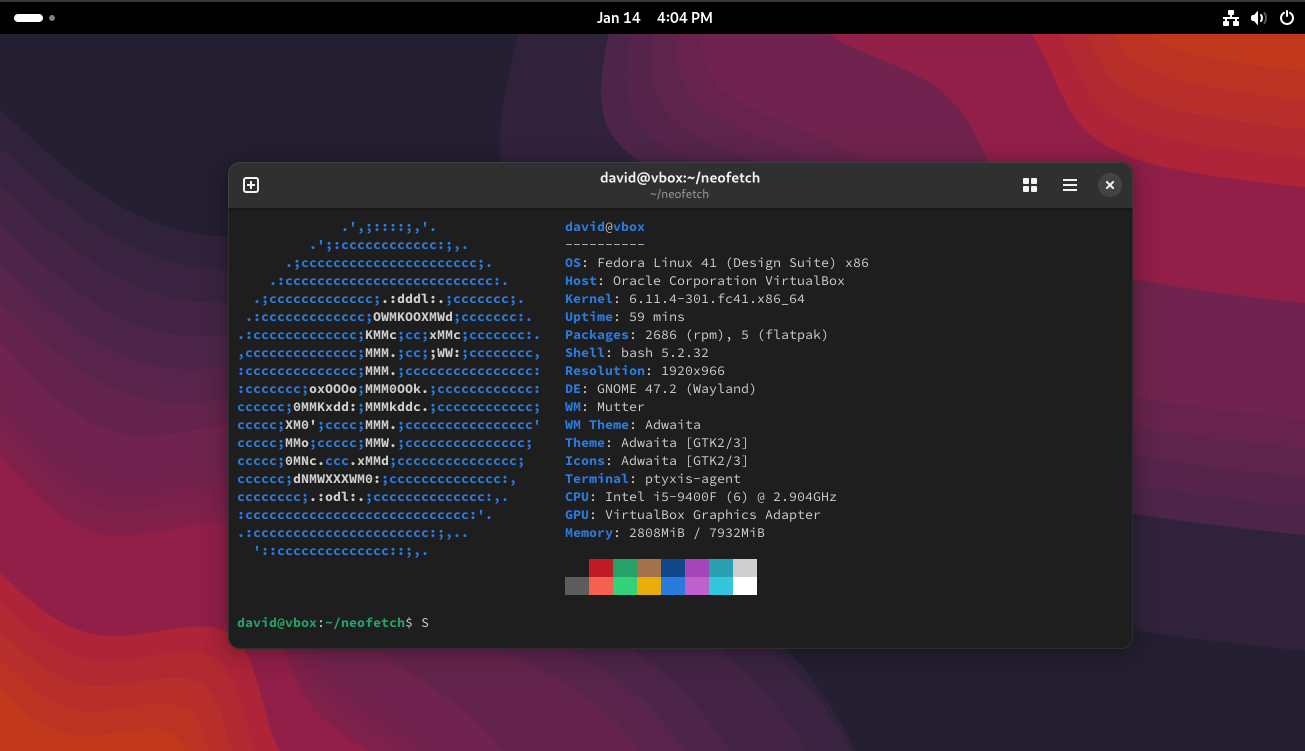
With Fedora running in VirtualBox, you now have a powerful and secure environment to explore Linux. Whether you’re experimenting, learning, or developing, this setup provides the flexibility to safely try new things without affecting your primary system.
Stay tuned, and happy designing! 🚀